🎀✨❤️🧶
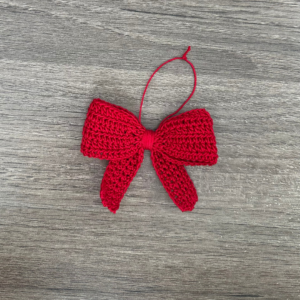
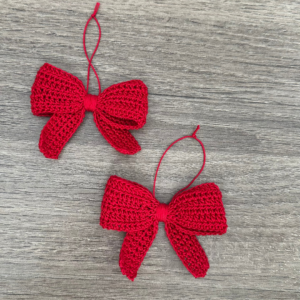
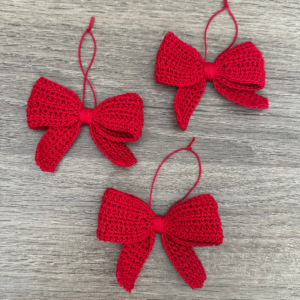
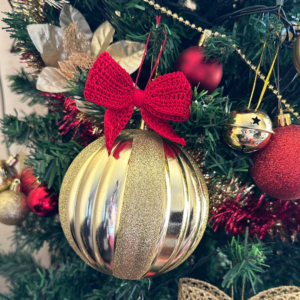
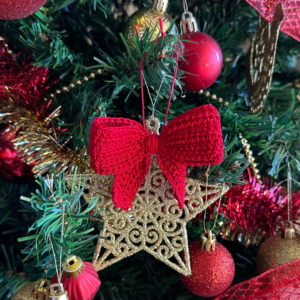
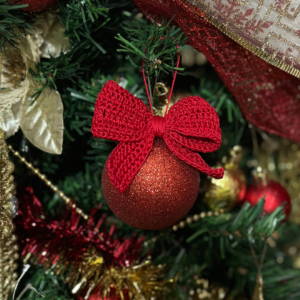
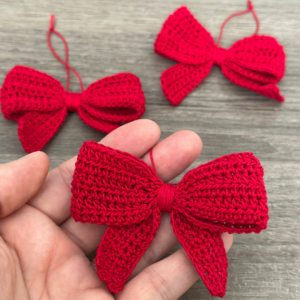
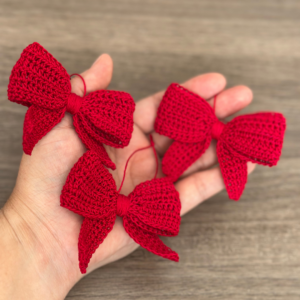
On December 1st, I started a challenge on my Instagram profile, where I’m adding handmade ornaments to my Christmas tree. Today, I want to share this charming red bow with you—a project I thoroughly enjoyed and that looks stunning on the tree.
This design is special because, although it uses basic crochet stitches, it requires attention to detail and precision in counting stitches, as there are variations in different parts of the bow. It’s perfect for beginners looking to practice stitch combinations or experienced crocheters wanting a versatile and elegant ornament.
This bow is an adaptation of the design Tatiana Gardini shares on her YouTube channel. I’ll leave the link to her video so you can check it out.
Materials:
- Fine thread: Red Heart Classic 100% mercerized cotton
- 1.5 mm crochet hook
- Scissors
- Tapestry needle
- Stitch marker (optional)
Abbreviations:
- Slip Knot – SK
- Chain – ch
- Single Crochet – sc
- Slip Stitch – sl st
- Half Double Crochet – hdc
Instructions:
We’ll crochet a rectangle:
- Start with 75 chains. In the second chain from the hook, make:
- 1 sc, 9 sc, 6 sl st, 18 hdc, 6 sl st, 18 hdc, 6 sl st, 10 sc.
2-6. Repeat this sequence for a total of 6 rows.
- 1 sc, 9 sc, 6 sl st, 18 hdc, 6 sl st, 18 hdc, 6 sl st, 10 sc.
Shaping the Bow:
Once the rectangle is finished, gather the sections created by the slip stitches to shape the bow. Wrap a long piece of thread around the center until you reach the desired thickness and secure the ends.
Customize Your Bow:
- To hang it, add a small piece of thread to the top and tie it securely.
- For other uses, such as embellishing a headband, blouse, or dress, skip this step.
The versatility of bows makes them perfect for decorating not only Christmas trees but also clothing and accessories.
If you decide to make this design, I’d love to see it! Tag me on your social media so I can admire your creation. 🌟
El 1 de diciembre comencé un reto en mi perfil de Instagram: agregar adornos hechos a mano a mi árbol de Navidad. Hoy quiero mostrarte este encantador lazo rojo, un proyecto que disfruté muchísimo y que luce espectacular en el árbol.
Este diseño es especial porque, aunque utiliza puntos básicos de crochet, requiere atención al detalle y precisión al contar los puntos debido a las variaciones en diferentes partes del lazo. Es ideal tanto para principiantes que desean practicar combinaciones de puntos como para crocheteras experimentadas que busquen un adorno versátil y elegante.
El diseño es una adaptación del lazo que Tatiana Gardini comparte en su canal de YouTube, una excelente guía para quienes buscan crear este tipo de adornos con facilidad. Te dejaré el link al video para que le eches un vistazo.
Materiales:
- Hilo delgado Red Heart Classic 100% algodón mercerizado
- Gancho de crochet de 1.5 mm
- Tijeras
- Aguja lanera
- Marcador de puntos (opcional)
Abreviaturas:
- NI: Nudo de Inicio
- cad: Cadena
- mp: Medio Punto
- pd: Punto Deslizado
- mpa: Medio Punto Alto o Media Vareta
Elaboración del Rectángulo:
- Fila 1: Comienza con una base de 75 cadenas. En la segunda cadena desde el gancho, realiza 1 mp, luego 9 mp, 6 pd, 18 mpa, 6 pd, 18 mpa, 6 pd, y finaliza con 10 mp.
- Filas 2 a 6: Repite la misma secuencia que en la primera fila.
Formar el Lazo:
Junta los fruncidos creados por los puntos deslizados para darle forma al lazo. Con una hebra de hilo, rodea el centro hasta obtener el grosor deseado y asegura los extremos.
Personaliza tu Lazo:
- Para colgarlo, añade una hebra en la parte superior y átala.
- Si prefieres usarlo en otros proyectos, como una hebilla, blusa o vestido, omite este paso.
La versatilidad de este diseño lo hace perfecto para decorar árboles de Navidad, prendas o accesorios. Si decides realizar este proyecto, ¡me encantaría verlo! Etiquétame en tus redes para que pueda admirar tu creación. 🌟
🎀✨❤️
Discover the Magic of this Crochet Bow
-Watch the short video on the left to see the red bow on the Christmas tree.
-If you’d like to see a video tutorial of a similar crochet bow to the one I made, click the button below to check it out. It’s a fantastic guide, and by watching, you’ll also help support the creator’s video!

